Pergola Building Plans For Easy DIY Wood Projects
Pergola building plans are a viable alternative to ready made kits, helping you save thousands in one of the easiest outdoor structures to build. A pergola consists mainly of a set of posts joint at the top by main beams, upon which all the joists are assembled to create a visually appealing structure that will enhance your garden landscaping and property value. Unfortunately, pre built pergolas are expensive to buy, but a DIY project based on simple to follow building plans will get your pergola up in three to four days.
Pergola plans contain all the basic measures and shapes for you to successfully do some woodworking, even without carpentry experience. However, before you start you should make sure to have the all clear from your local council for underground utilities like electric cables or water mains where you plan to dig out for the post foundations. Furthermore, the position should be carefully chosen due to the dramatic visual impact this structure will have once finished, drawing the eye in and balancing open areas.
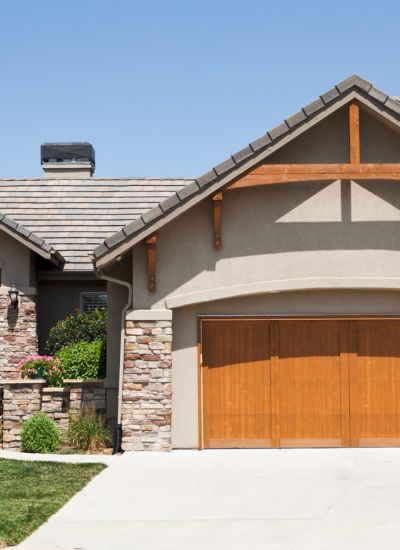
Pergolas can be built in aluminum, vinyl or wood, with cedar being the most suitable for this kind of structure. Cedar is very tough and durable and will often outlast its builder. It is resistant to rot, fungi, UVA, rain and wood boring insects, it is visually appealing and blends in naturally with the garden lawn and vegetation.
In order to implement the project you should seek the help of a friend because posts and beams are heavy and cumbersome to move and lift. Once you have the all clear for the intended position, you can dig out the holes and pour some cement in for further post stability and prevent sinking.
While waiting for the cement to set in, you can start cutting and shaping all the parts as for the pergola building plans. Then, prop the posts up temporarily with some nailed sticks and align them with lines. Find the right height for the main beams with a bucket of water and a clear hose (water method), mark it and drill the holes where the beams will be bolted with the posts.
Once bolted, the structure is safe and rigid, so you can remove the props and fill in the post holes. With your pergola building plans in hand, find the right span for the joists and nail them to the beams. Your pergola is ready except for the finishing touches. Use sandpaper and an angle grinder to smooth up the rugged surface, then paint it with a resin based wood stain to add further protection to UVA and rain.
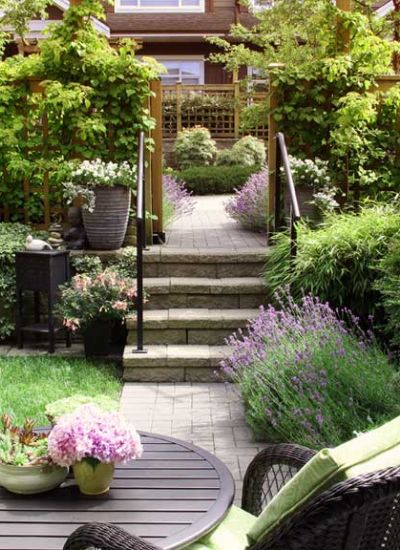
You can now add hanging flower baskets or climbing vines such as Grape Vine, Bougainvillea, Morning Glory, English Ivy and so on, depending on your location climate. Climbing plants will spread fast over your pergola, providing a cascade of cooling foliage and transforming your pergola in the centerpiece of your property during the hot summer days, attracting family and friends to relax and socialize.
Pergola building plans come in a variety of designs, sizes and shapes. The easiest shape for a novice is a rectangular or square one. It is also the most popular because of its easy lay out, allowing effective furniture arrangement within. Triangular and circular shapes are more unusual and more difficult to set up, while a rectangular or square design lands itself for a free standing pergola or a patio pergola attached to the house.
Pergola plans contain all the basic measures and shapes for you to successfully do some woodworking, even without carpentry experience. However, before you start you should make sure to have the all clear from your local council for underground utilities like electric cables or water mains where you plan to dig out for the post foundations. Furthermore, the position should be carefully chosen due to the dramatic visual impact this structure will have once finished, drawing the eye in and balancing open areas.
Pergolas can be built in aluminum, vinyl or wood, with cedar being the most suitable for this kind of structure. Cedar is very tough and durable and will often outlast its builder. It is resistant to rot, fungi, UVA, rain and wood boring insects, it is visually appealing and blends in naturally with the garden lawn and vegetation.
In order to implement the project you should seek the help of a friend because posts and beams are heavy and cumbersome to move and lift. Once you have the all clear for the intended position, you can dig out the holes and pour some cement in for further post stability and prevent sinking.
While waiting for the cement to set in, you can start cutting and shaping all the parts as for the pergola building plans. Then, prop the posts up temporarily with some nailed sticks and align them with lines. Find the right height for the main beams with a bucket of water and a clear hose (water method), mark it and drill the holes where the beams will be bolted with the posts.
Once bolted, the structure is safe and rigid, so you can remove the props and fill in the post holes. With your pergola building plans in hand, find the right span for the joists and nail them to the beams. Your pergola is ready except for the finishing touches. Use sandpaper and an angle grinder to smooth up the rugged surface, then paint it with a resin based wood stain to add further protection to UVA and rain.
You can now add hanging flower baskets or climbing vines such as Grape Vine, Bougainvillea, Morning Glory, English Ivy and so on, depending on your location climate. Climbing plants will spread fast over your pergola, providing a cascade of cooling foliage and transforming your pergola in the centerpiece of your property during the hot summer days, attracting family and friends to relax and socialize.
Pergola building plans come in a variety of designs, sizes and shapes. The easiest shape for a novice is a rectangular or square one. It is also the most popular because of its easy lay out, allowing effective furniture arrangement within. Triangular and circular shapes are more unusual and more difficult to set up, while a rectangular or square design lands itself for a free standing pergola or a patio pergola attached to the house.